How To Throw A DIY Frozen Party On A Budget
My daughter absolutely loves Frozen and Frozen II so we decided to throw her a Frozen themed 2nd birthday party! We called it “Elizabeth’s Frozen Summer Pool Party!” I started looking online and saw the huge price tags on everything and thought, why not make my own decorations?
You can really make a room pop with minimal decorations and since I have a Cricut, I thought I would put it to good use. I have made it easy for you to throw your own party by linking most of the items I purchased and the Cricut projects that I created for the party. All files are also at the end of this post if you don’t feel like reading everything.
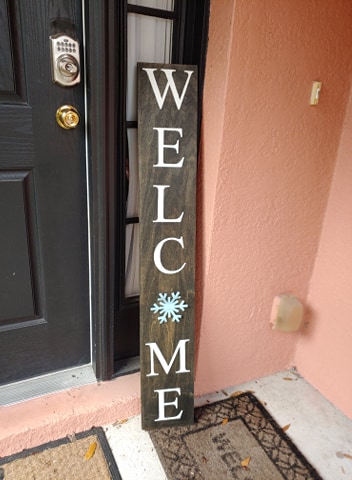
FIRST IMPRESSIONS
PARTY FAVORS
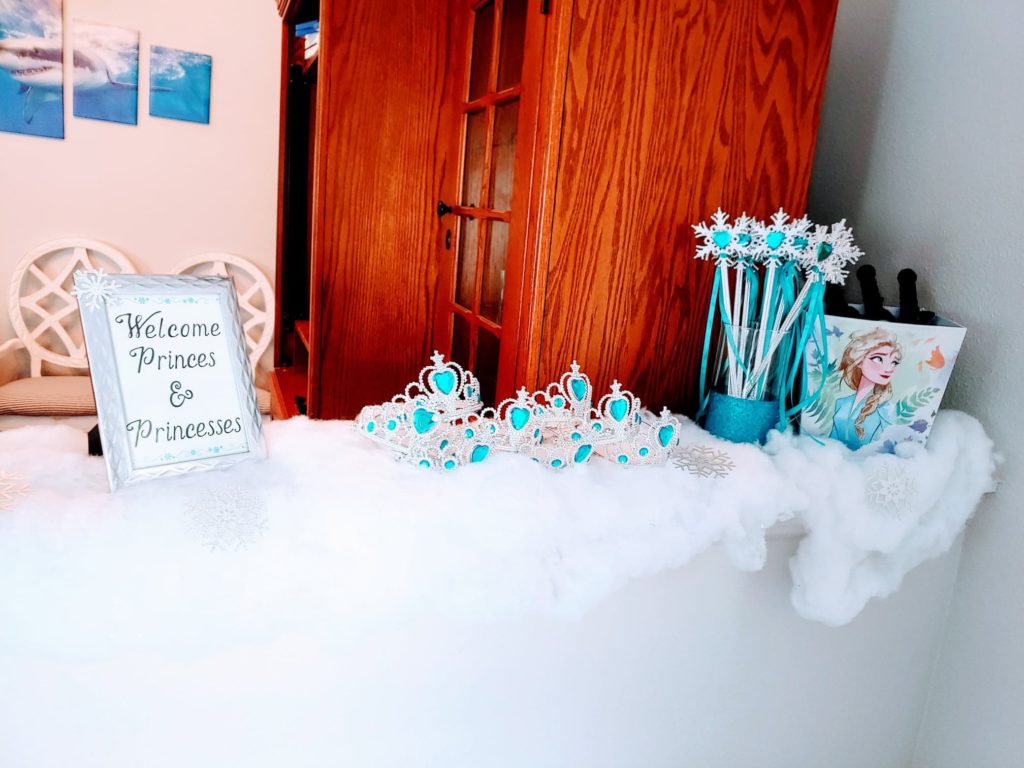
To decorate this area, I set out some fake snow that I had laying around from Christmas (yes, we still have Christmas stuff everywhere!) and laid the tiaras out. I bought a clear glass vase from Dollar Tree and decorated with glitter by using Mod Podge to stick it on. I did three layers of each and let it set out overnight to dry. I placed the wands in the vase and used my daughters Frozen Easter basket from Five Below to hold the light sabers. I also made a cute sign that said, “Welcome Princes and Princesses” just for a cute added touch! You can find this sign in Cricut Design Space here. I used these 5×7 picture frames from the Dollar Tree to make it look extra nice! This was such a great way to start off the party!
CAKE TABLE
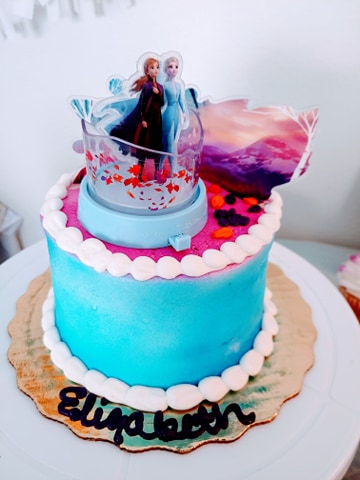
We ordered from Publix as their cakes always taste so moist and delicious and they are inexpensive! I bought two dozen cupcakes and a 12-inch smash cake that included the toys from their “Disney Frozen 2 Mythical Journey” cake which cost about $30.00. Keep in mind that the toys are an extra charge but I did include that in the $30.00. I was shocked that two dozen cupcakes were eaten by the time we even got to the birthday song; the kids loved them! Here is the link to the Publix website to order a sheet cake with the toys. If you want to order the smash cake, you will have to call or order in person.
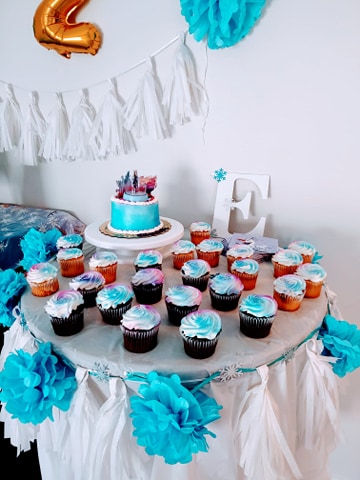
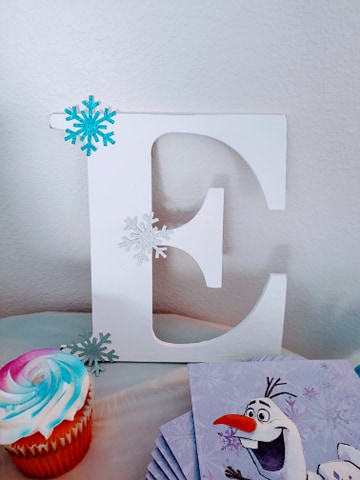
To decorate this table, I used several decorations from the Dollar Tree, plus some of the snowflakes in Design Space. I used two different types of Pom-Pom decorations from Dollar Tree to circle the perimeter of the table which gave it a really fun look! I also found a really cute wooden E in the clearance section at Michaels for $1.00! I painted it with Waverly White Chalk Paint and added some of the snowflakes to it. The whole table came out really nice!
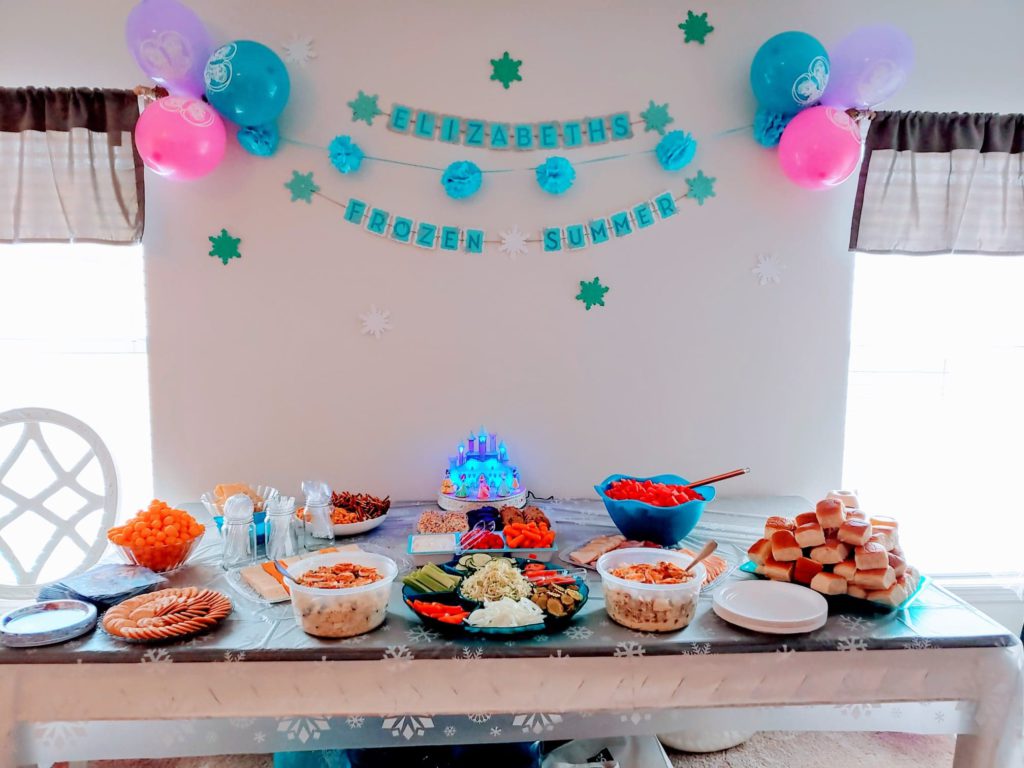
FOOD & BEVERAGE STATIONS
For the food, we used our main dining table and pushed it up against the wall. I found a cute snowflake tablecloth on Amazon to make the theme come to life! My mother in law gifted my daughter a beautiful light up music castle that features some of the Disney princesses so we used that as a centerpiece.
We decided to keep it simple by having a sandwich spread as the main meal because of Anna and Kristoff’s famous, “we finish each other’s sandwiches,” line from the first film. We also did a veggie platter (Sven snacks), pretzel sticks (Olaf arms) and some other really good treats to keep everyone fed. I bought most items at Aldi and a few others at Publix for a total of $40.00! If you want a cheap and easy meal for a party, sandwiches are the way to go!

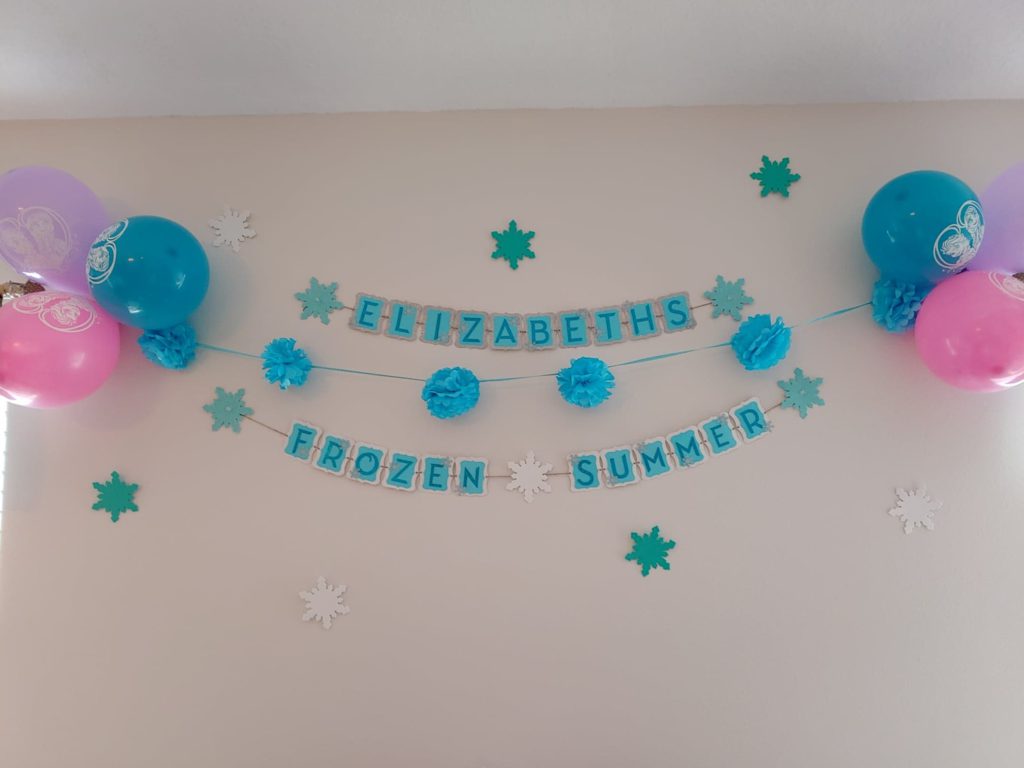
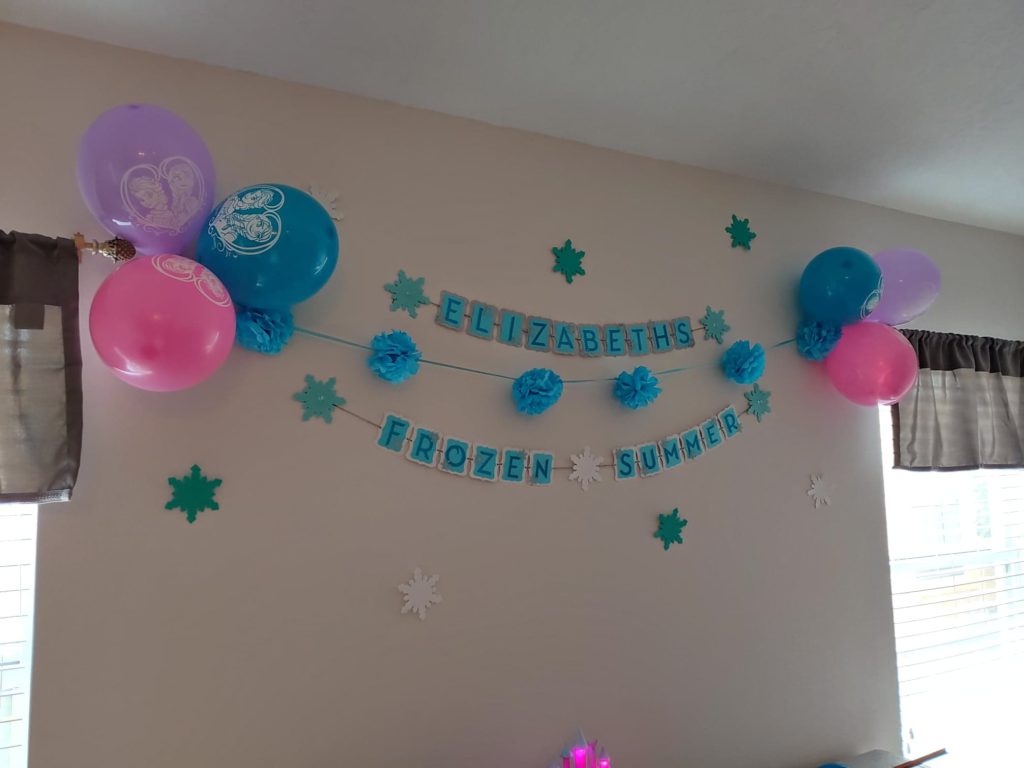
The wall above the table was the perfect canvas for a birthday banner. I wanted something unique so I made up this adorable banner that said, “Elizabeth’s Frozen Summer,” instead of the typical Happy Birthday. To make your own banner, use this Cricut Design Space file as a guide. I finished it off with Dollar Tree balloons featuring Anna and Elsa (no longer on their site) and some felt snowflakes from Michaels.
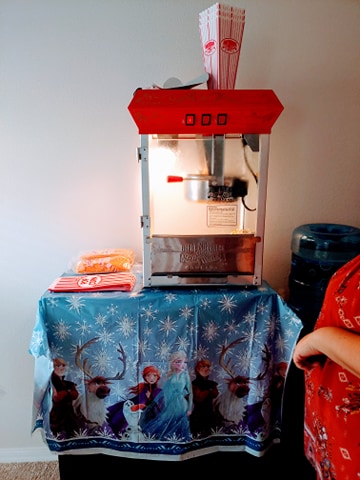
To make things extra fun, I borrowed a popcorn machine from a friend. This was a huge hit with both children and adults and makes me want to invest in one! Luckily, she didn’t charge me for it so I was able to save money there. I gave the popcorn machine its own section as it was too cool to put on the table.
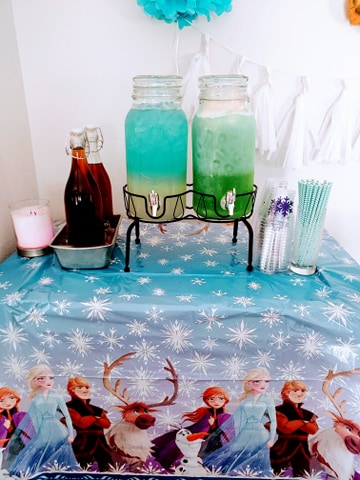
For drinks, I also gave them their own area next to the cake table. I decided to serve some sweet tea, blue lemonade (lemonade with Blue Hawaiian Punch) and Frozen Party Punch! The Frozen Party Punch was a favorite amongst everyone as it tastes so good!
Frozen Party Punch Recipe:
Ingredients:
• 1/2 of whatever container you use is Blue Hawaiian Punch
• ¼ Pineapple Juice
• ¼ 7UP, Sprite or Ginger Ale
• Few scoops of vanilla ice cream
• Ice
Directions:
- Just fill up the container with ice, punch, pineapple juice, soda and ice cream, stir and enjoy!
- This is such an easy and delicious drink and I do variations of it at almost every party I have because it’s so good! You will need to mix it occasionally as it does separate and get discolored as the ice and ice cream melt.
- I spoofed up this area by using paper straws and plastic cups from the Dollar Tree decorated with some snowflakes that I printed out with permanent vinyl on the Cricut using the same snowflakes I have already posted.

This part of the room was finished off with more Dollar Tree Pom-Poms and a number 2 balloon also from the Dollar Tree.
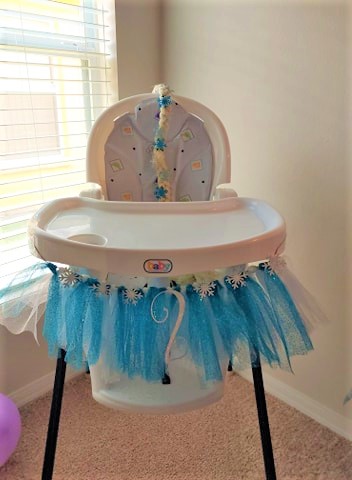
BIRTHDAY THRONE
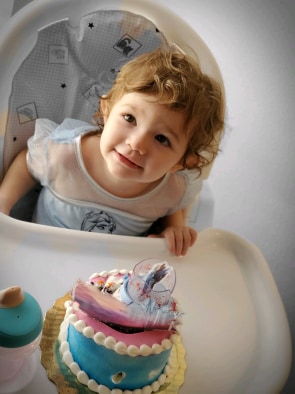
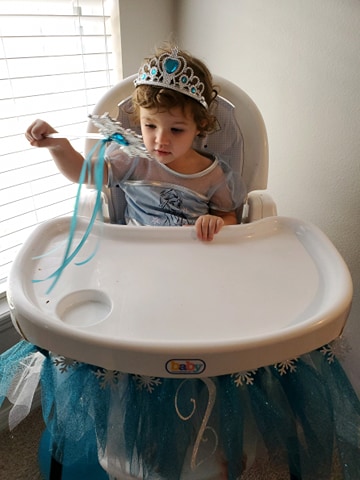
Since my daughter will be eating her cake in her highchair (throne), I decided to jazz it up! I made a banner skirt out of turquoise and white glitter tulle by cutting strips of 16” pieces and tying them around a long strand of jute twine that I already had on hand. I then glued some silver snowflakes made on the Cricut and a large number two that was also made on the Cricut, you can find the numbers here. It made for some cute photo!
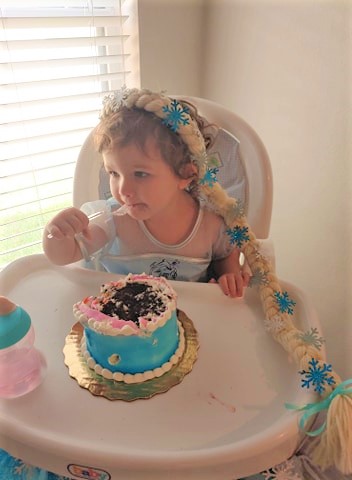
As you can see, she is wearing an Elsa braid headband. I also made this! I used a ball of Golden Beige yarn, wrapped it around a long piece of cardboard and cut one of the ends. I then tied one end very tight with a rubber band and cut the extra yarn off almost all the way to the rubber band. You can also add in a piece of ribbon for an added touch of color.
I then put my husband to work and made him hold the end while I braided it all the way down. Then I glued it to a thick headband that I got from Dollar Tree (no longer online). I also glued on snowflakes I made with some glitter cardstock. This came out so cute and I can’t wait to make more! You can do so many princesses’ hair with this cheap and easy technique!

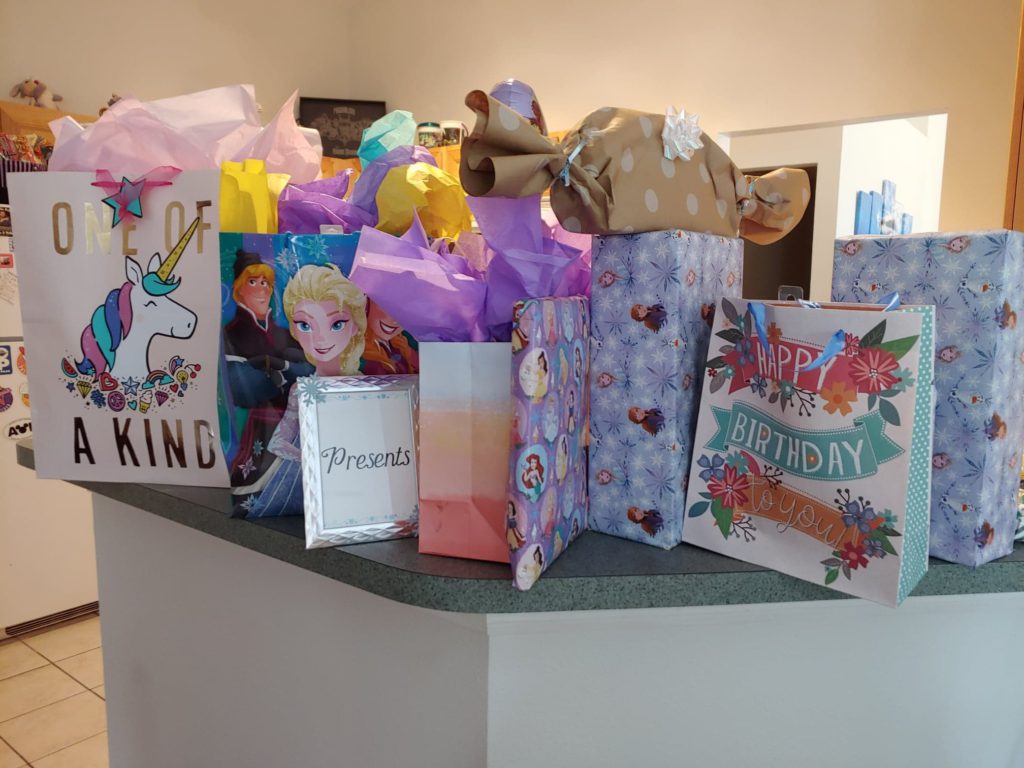
PRESENTS
Since I didn’t have an extra table, I used the bar attached to my kitchen to sit presents on. I also made a sign that matched the entry sign which can be found here. I just kept it simple and I liked how “Presents” looked rather than “Gifts” but you can change it to however you’d like. I placed the sign in another 5×7 frame and decorated with a few snowflakes.
Since the living room wasn’t going to be a huge hang out area, other than being the spot where she opened presents, I just kept it simple. For the TV stand, I decided to make a snowflake banner with some twine. This was so easy! I just measured how much twine I needed, cut it, laid it out and glued snowflake embellishments from Michaels in different sizes to the twine. It was so simple but so pretty and gave it almost a rustic look!
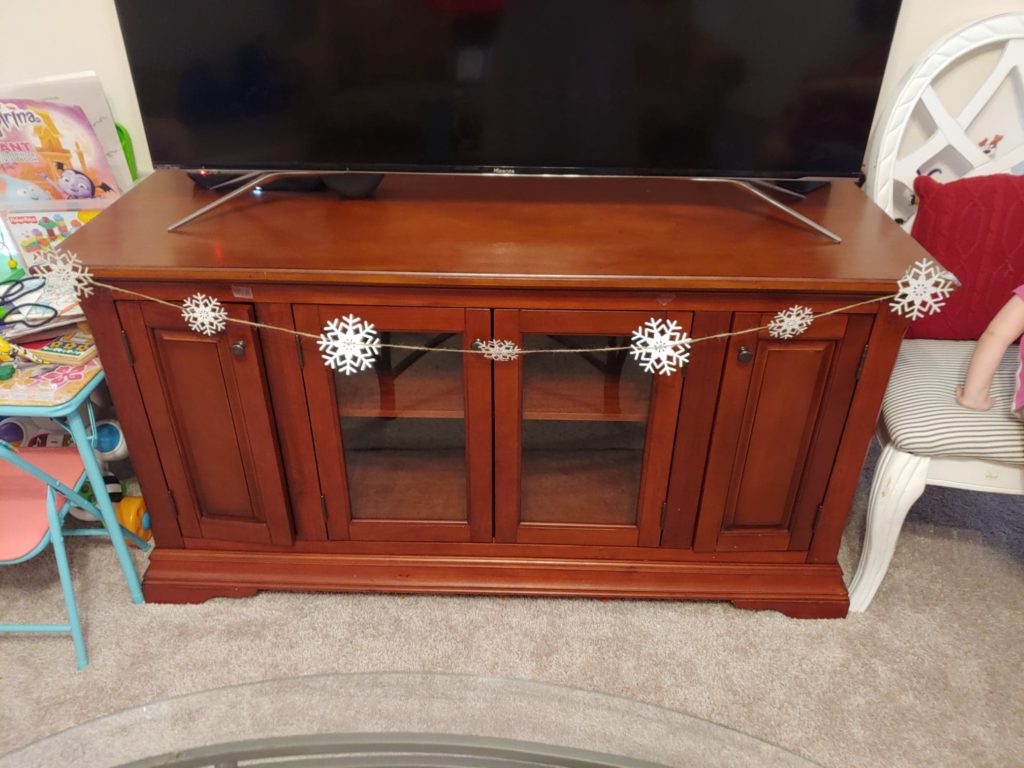
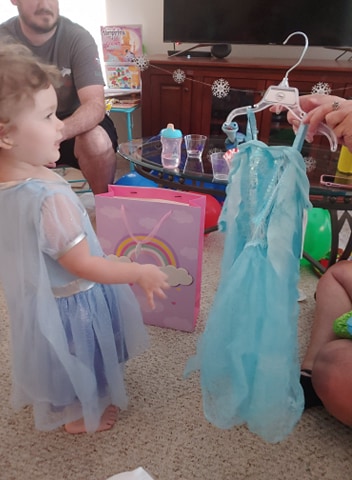
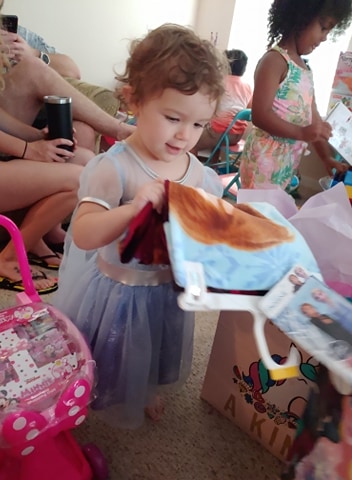
This was such a great area for present opening as it was a very open space. She loved getting all the Frozen gifts and so much more!
POOL AREA
Since we have a pool, we asked everyone to bring swim suits. The kids loved being able to swim on this hot day but the parents didn’t want to go in. I knew this would happen so the bigger kids swam in the normal pool and I blew up a small baby pool for the little ones that stayed next to the adults for supervision. This was my daughters’ favorite part of the day!
I also had a bubble machine that I got from Target for only $10.00 so I brought that out to really set the scene, the kids loved it! I set out some extra bubble wands and temporary tattoos for the kids as well. Unfortunately, I did not get any pictures of this but it sure was a hit.
OVERALL THOUGHTS
This was probably the best party I have ever thrown and I am surprised at how cheap everything ended up being. If you purchase all of the items below, it comes out to about $150.00 which is really not bad for a party! I wanted to do something that was less expensive than normal and it was very successful!
The hard part about DIY projects is it does take a lot of time and patience. It took me about three days of setting up and finishing everything to make this Frozen Summer come to life and it was worth every minute just to see my daughter have the best birthday ever!
FILES/PRODUCT LINKS/SHOPPING LISTS
(We are not affiliated with any of these companies)
CRICUT FILES:
• Frozen signs: https://design.cricut.com/landing/project-detail/5ee44062b9009d0c6c0d7566
• Highchair Numbers: https://design.cricut.com/landing/project-detail/5ee2b9120e22c0127004c77b
• Birthday Banner: https://design.cricut.com/landing/project-detail/5edea78c40211e063c7faf9e
• Snowflakes: https://design.cricut.com/landing/project-detail/5ee2d054b7c57e08a4384705
MICHAELS:
• Felt Snowflakes: https://www.michaels.com/signature-silver-snowflake-die-cut-embellishments-by-recollections/10376152.html
• TV Banner Snowflakes: https://www.michaels.com/signature-silver-snowflake-die-cut-embellishments-by-recollections/10376152.html
• Cardstock for Banner (I used the 4th color in): https://www.michaels.com/blue-ombre-8.5×11-cardstock-paper-by-recollections/10359623.html
• White Glitter Cardstock for Banner: https://www.michaels.com/core%27dinations-glitter-silk-opulent-opal-cardstock/D048153S.html
• Turquoise Glitter Cardstock for Banner: https://www.michaels.com/martha-stewart-zircon-glitter-paper-12in-x-12in/10593370.html
• Silver Glitter Cardstock for Snowflakes: https://www.michaels.com/martha-stewart-blue-sapphire-glitter-paper-12in-x-12in/10593369.html
• Turquoise Glitter Tulle (beware, it’s very messy!): https://www.michaels.com/6in-tulle-with-glitter-celebrate-it-occasions/M10217906.html?dwvar_M10217906_size=6%22%20x%2010yd&dwvar_M10217906_color=Light%20Blue
• White Glitter Tulle (also very messy!)- https://www.michaels.com/6in-tulle-with-glitter-celebrate-it-occasions/M10217906.html?dwvar_M10217906_size=6%22%20x%2010yd&dwvar_M10217906_color=Light%20Blue
• Yarn for Elsa Braid: https://www.michaels.com/loops-and-threads-impeccable-yarn-solid/M10108918.html?dwvar_M10108918_size=4.5%20oz&dwvar_M10108918_color=Plum
AMAZON:
• Snowflake Tablecloth: https://www.amazon.com/gp/product/B009AT95LC/ref=ppx_yo_dt_b_asin_title_o01_s00?ie=UTF8&psc=1
• Wands: https://www.amazon.com/gp/product/B01IK60NQ6/ref=ppx_yo_dt_b_asin_title_o01_s01?ie=UTF8&psc=1
• Tiaras: https://www.amazon.com/gp/product/B01IV40DXU/ref=ppx_yo_dt_b_asin_title_o01_s01?ie=UTF8&psc=1
DOLLAR TREE:
• Light Sabers: https://www.dollartree.com/colorful-toy-swords/303240
• Pom-Poms: https://www.dollartree.com/hanging-light-blue-pom-poms-2ct-packs/227834
• Pom-Pom Garland: https://www.dollartree.com/hanging-light-blue-pom-pom-garlands-9ft-strands/227813
• Round Tablecloth: https://www.dollartree.com/round-white-plastic-table-covers-84in/988220
• Vase: https://www.dollartree.com/glass-cylinder-vases-725-in/162354
• 5×7 Picture Frame: https://www.dollartree.com/special-moments-silverdiamond-picture-frames-5×7-in/307280
• 2 Balloon- https://www.dollartree.com/kaleidoscope-brands-gold-foil-number-2-balloons-14-in/272942
• Paper Straws: https://www.dollartree.com/old-fashioned-paper-straws-24ct-packs/244465
• Plastic Cups: https://www.dollartree.com/clear-plastic-tumblers-9oz-10ct-packs/954369
FIVE BELOW:
• Frozen Basket: https://www.fivebelow.com/name-brand-paper-easter-basket-disney-frozen-2trolls.ht
• Frozen Paper Plates: https://www.fivebelow.com/disney-frozen-2-paper-party-plates-8-count.html
• Frozen Tablecloth: https://www.fivebelow.com/disney-frozen-2-plastic-tablecloth-84in-x-54in.html
TARGET:
• Bubble Machine: https://www.target.com/p/light-up-bubble-machine-sun-squad-8482/-/A-77334501
ALDI:
• Meats- Honey smoked turkey, hickory smoked turkey, ham, chicken, salami, roast beef
• Cheese- Swiss, cheddar, mozzarella, pepper jack, Colby jack, muenster
• Sandwich fixings- Tomatoes, pickles, onion, lettuce
• Other food items- Hawaiian rolls, carrots, celery, cucumber, cherry tomatoes, Ritz Crackers, pretzel sticks, Cheetos Puff balls, tortilla chips, Pace Medium Salsa
PUBLIX:
• Frozen Cake: https://www.publix.com/pd/disney-frozen-2-mythical-journey/RIO-THC-575860
• Food items: Shredded lettuce, cookies, brownies, watermelon, Gold Fish, ranch dip
• Frozen Punch items- Vanilla ice cream, Blue Hawaiian Punch, 7UP, pineapple juice
• Other- Lemonade, sweet tea
*Originally posted on www.wintergardenmoms.com


Comments
Post a Comment